Monday, July 4, 2022

Playing Cards


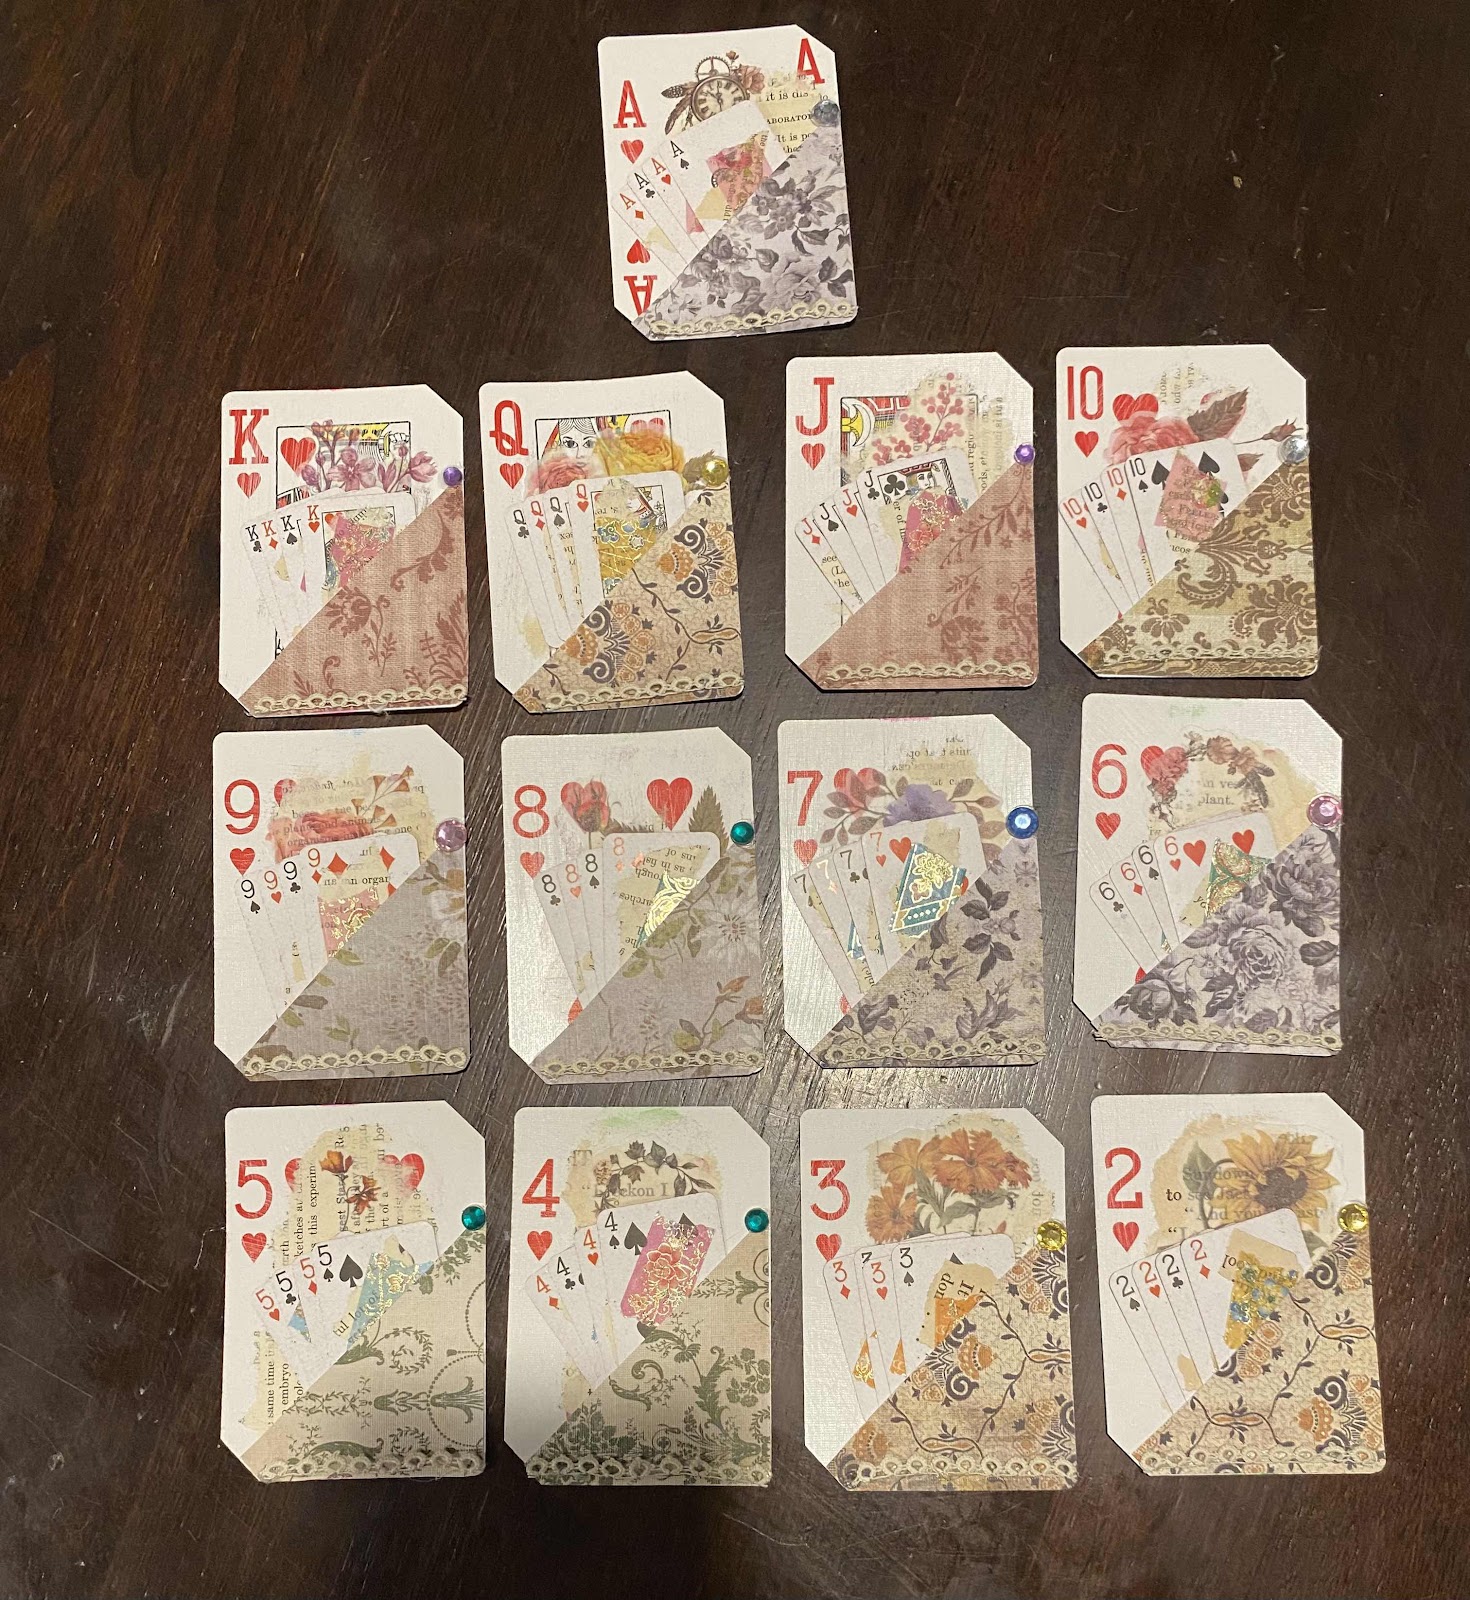
I have this obsession with altering playing cards. Yes, you heard me right, playing cards! I am in love with the different possibilities playing cards present for altering purposes. I absolutely love them! 


The set you are looking at I just finished for a swap. Well just three of them went out. I’m hoping she likes them. I kept the rest to use for tucks in my junk journals.


I watched an awesome video a few months ago and couldn’t replace the technique at the time . It was very frustrating because I loved the look of it.


Now a few months later after thinking on it I decided to work the technique my way. I got wonderful results as you can see with my cards.


This is actually the first time I got a glue stick to work on playing cards. I’m telling you that was the most frustrating thing! Here are all these people doing techniques using glue sticks and yeah it wasn’t working for me. 


Sitting down and really working it out with a big success was so gratifying! Then it got me to thinking about the possibilities for the technique. There will be more to come on those thoughts!


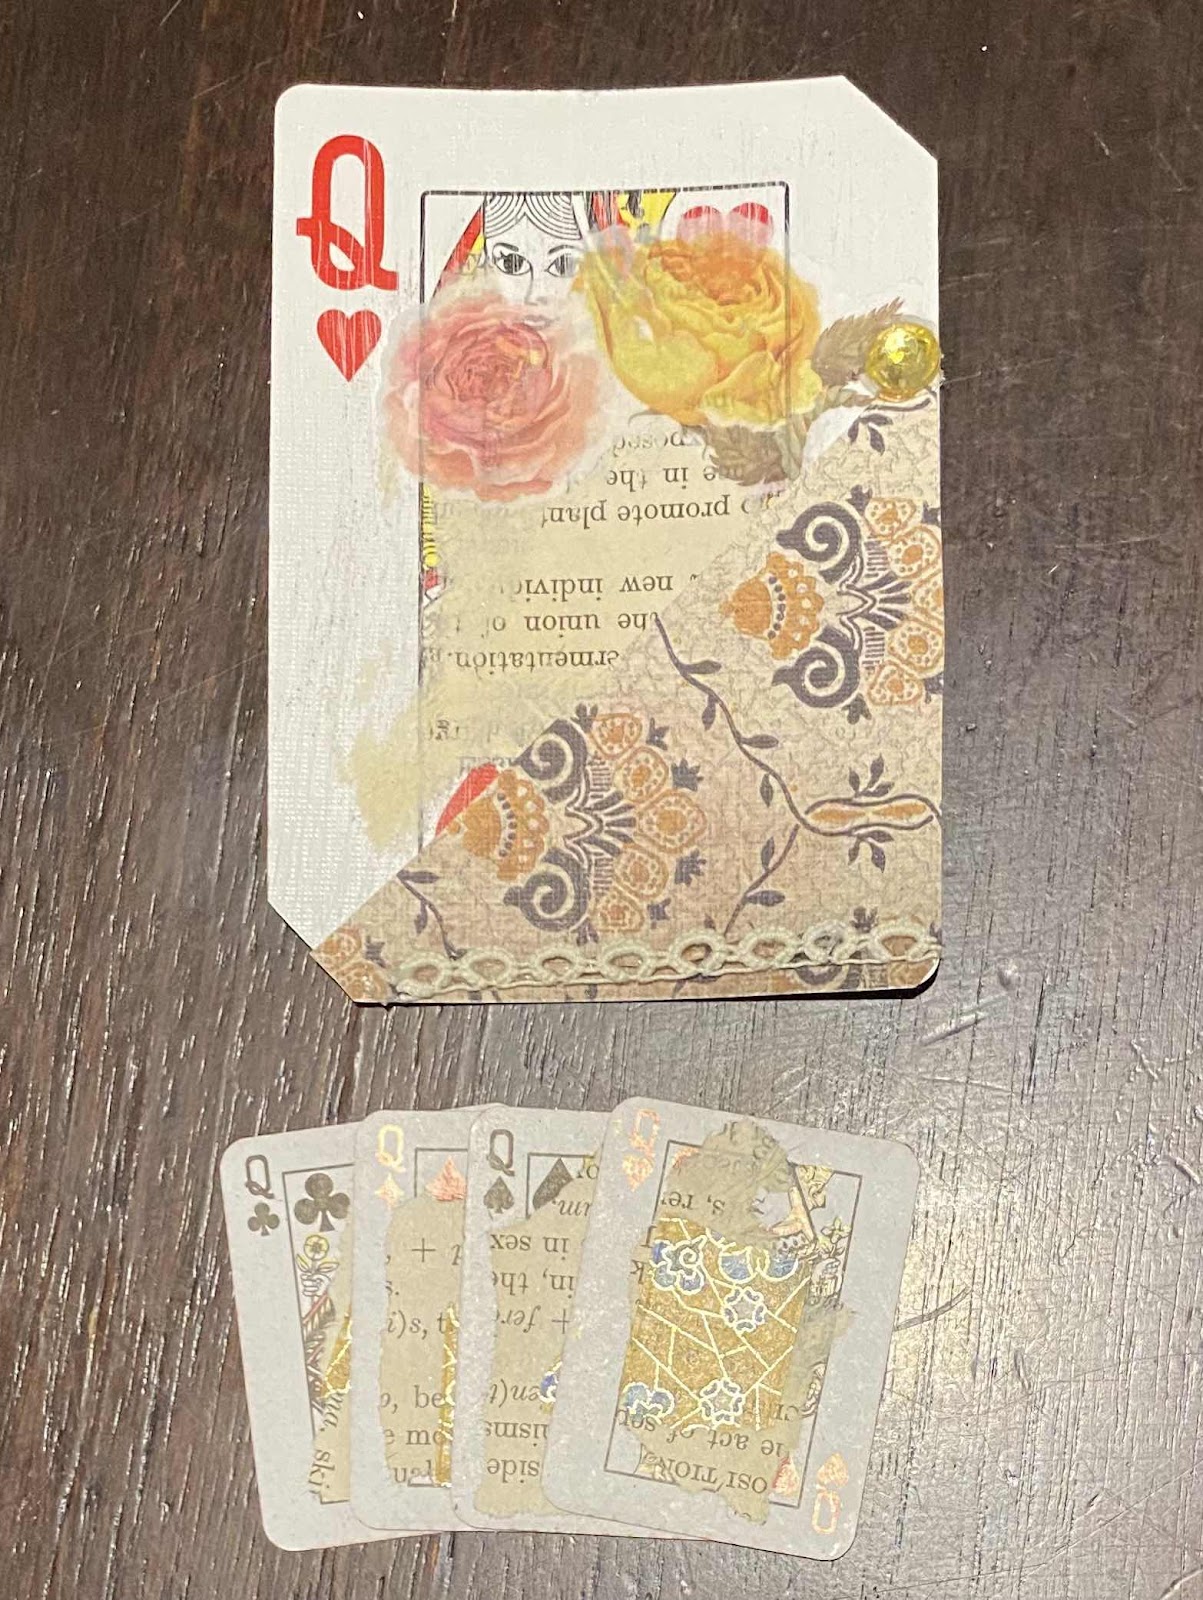
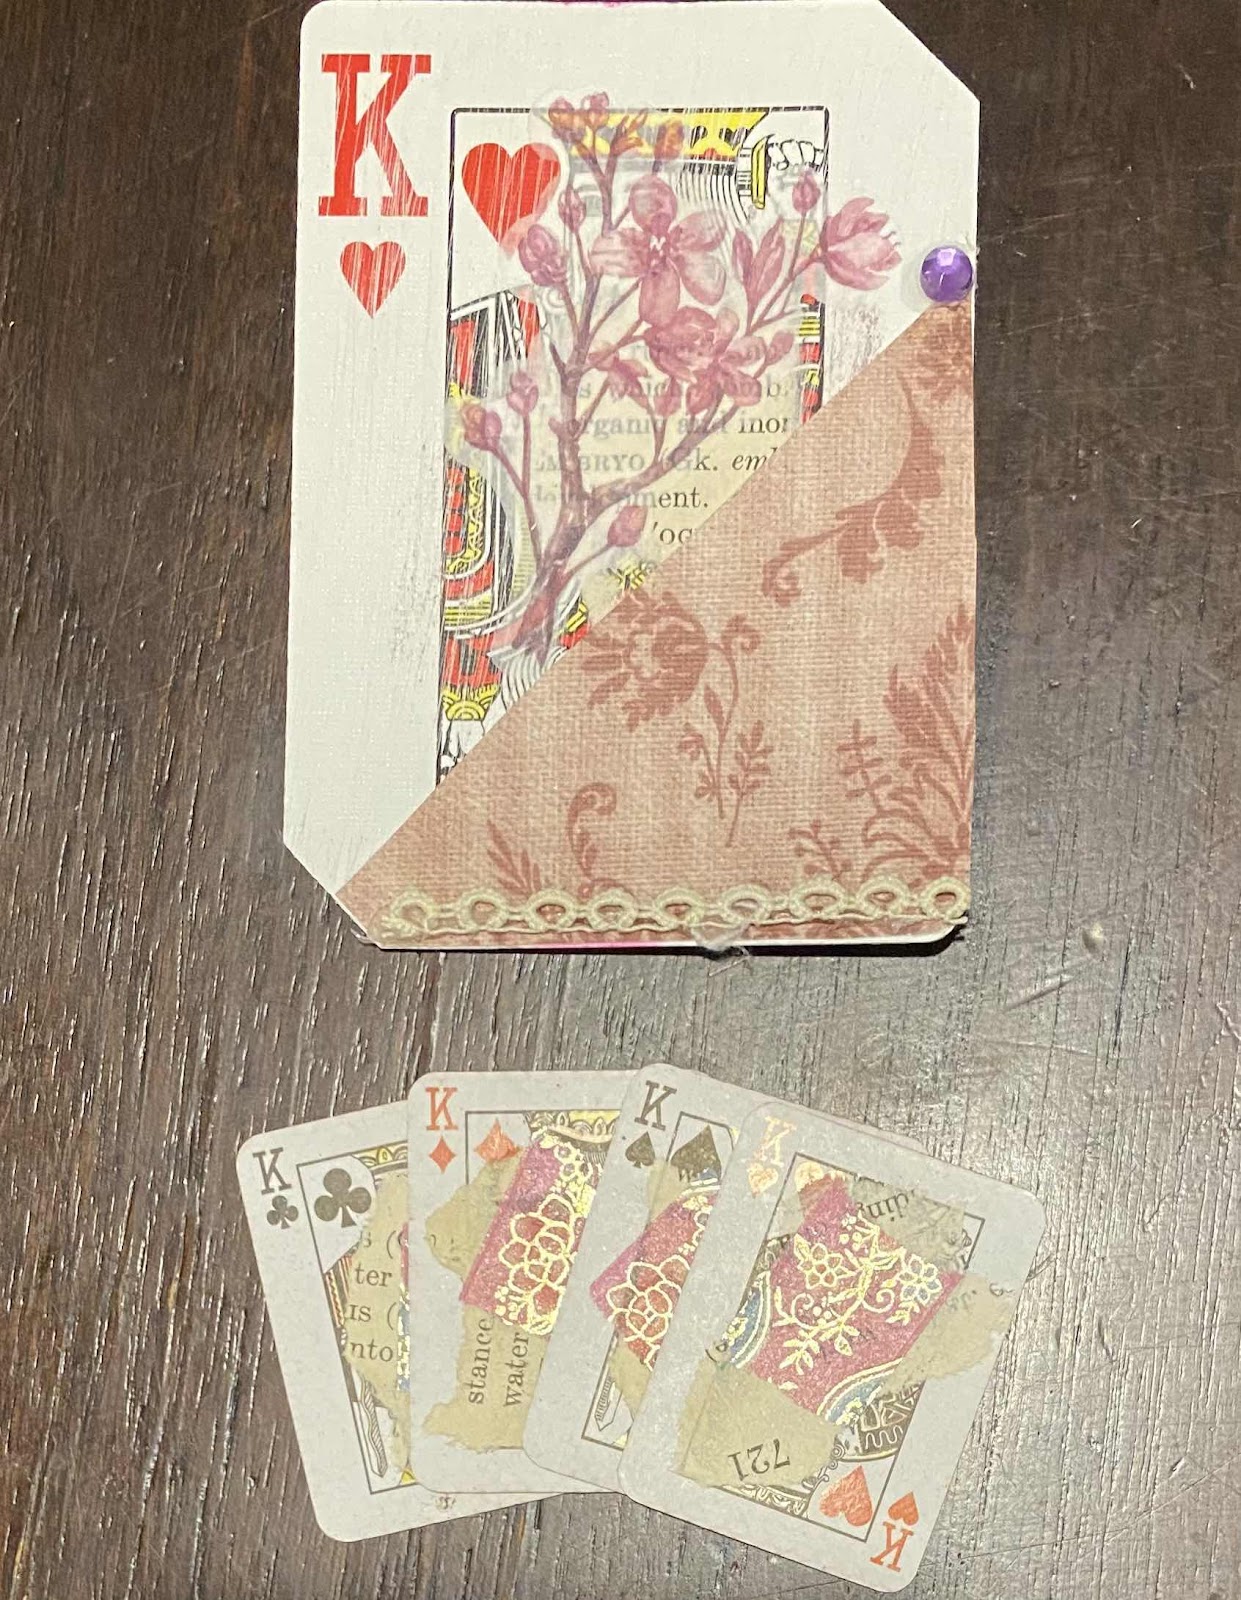
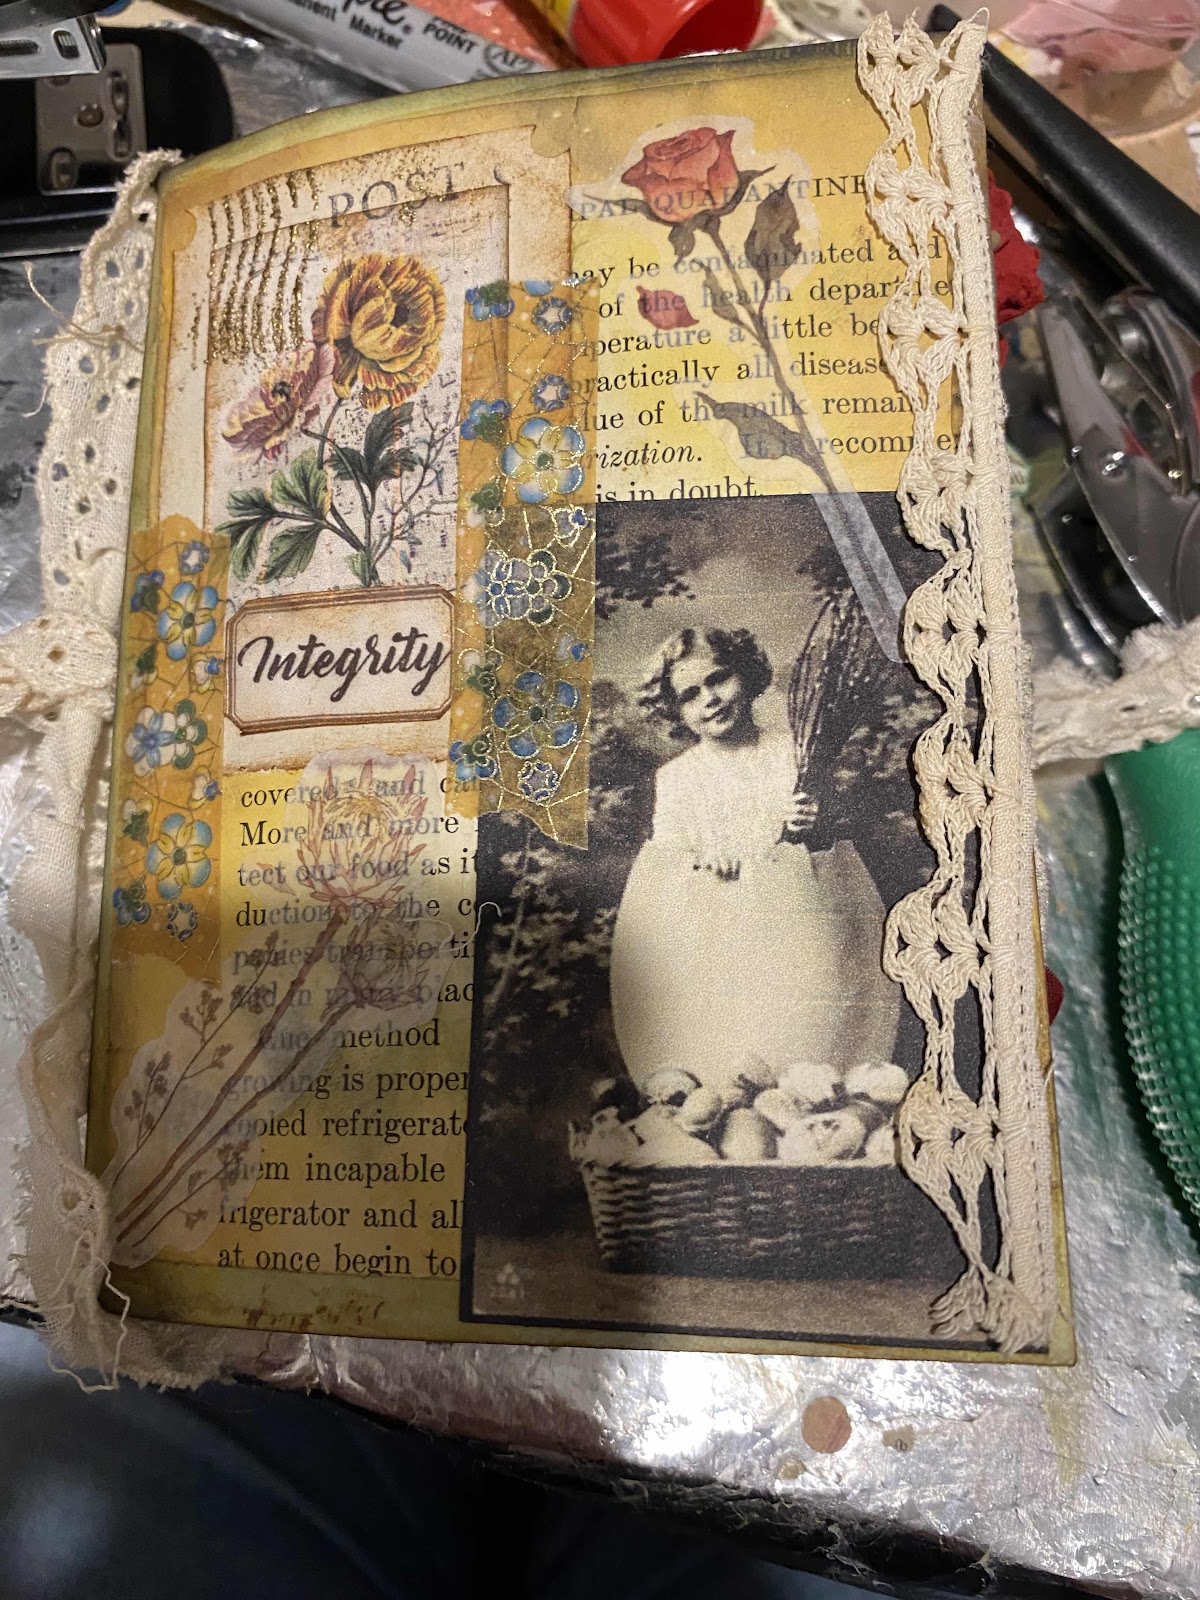
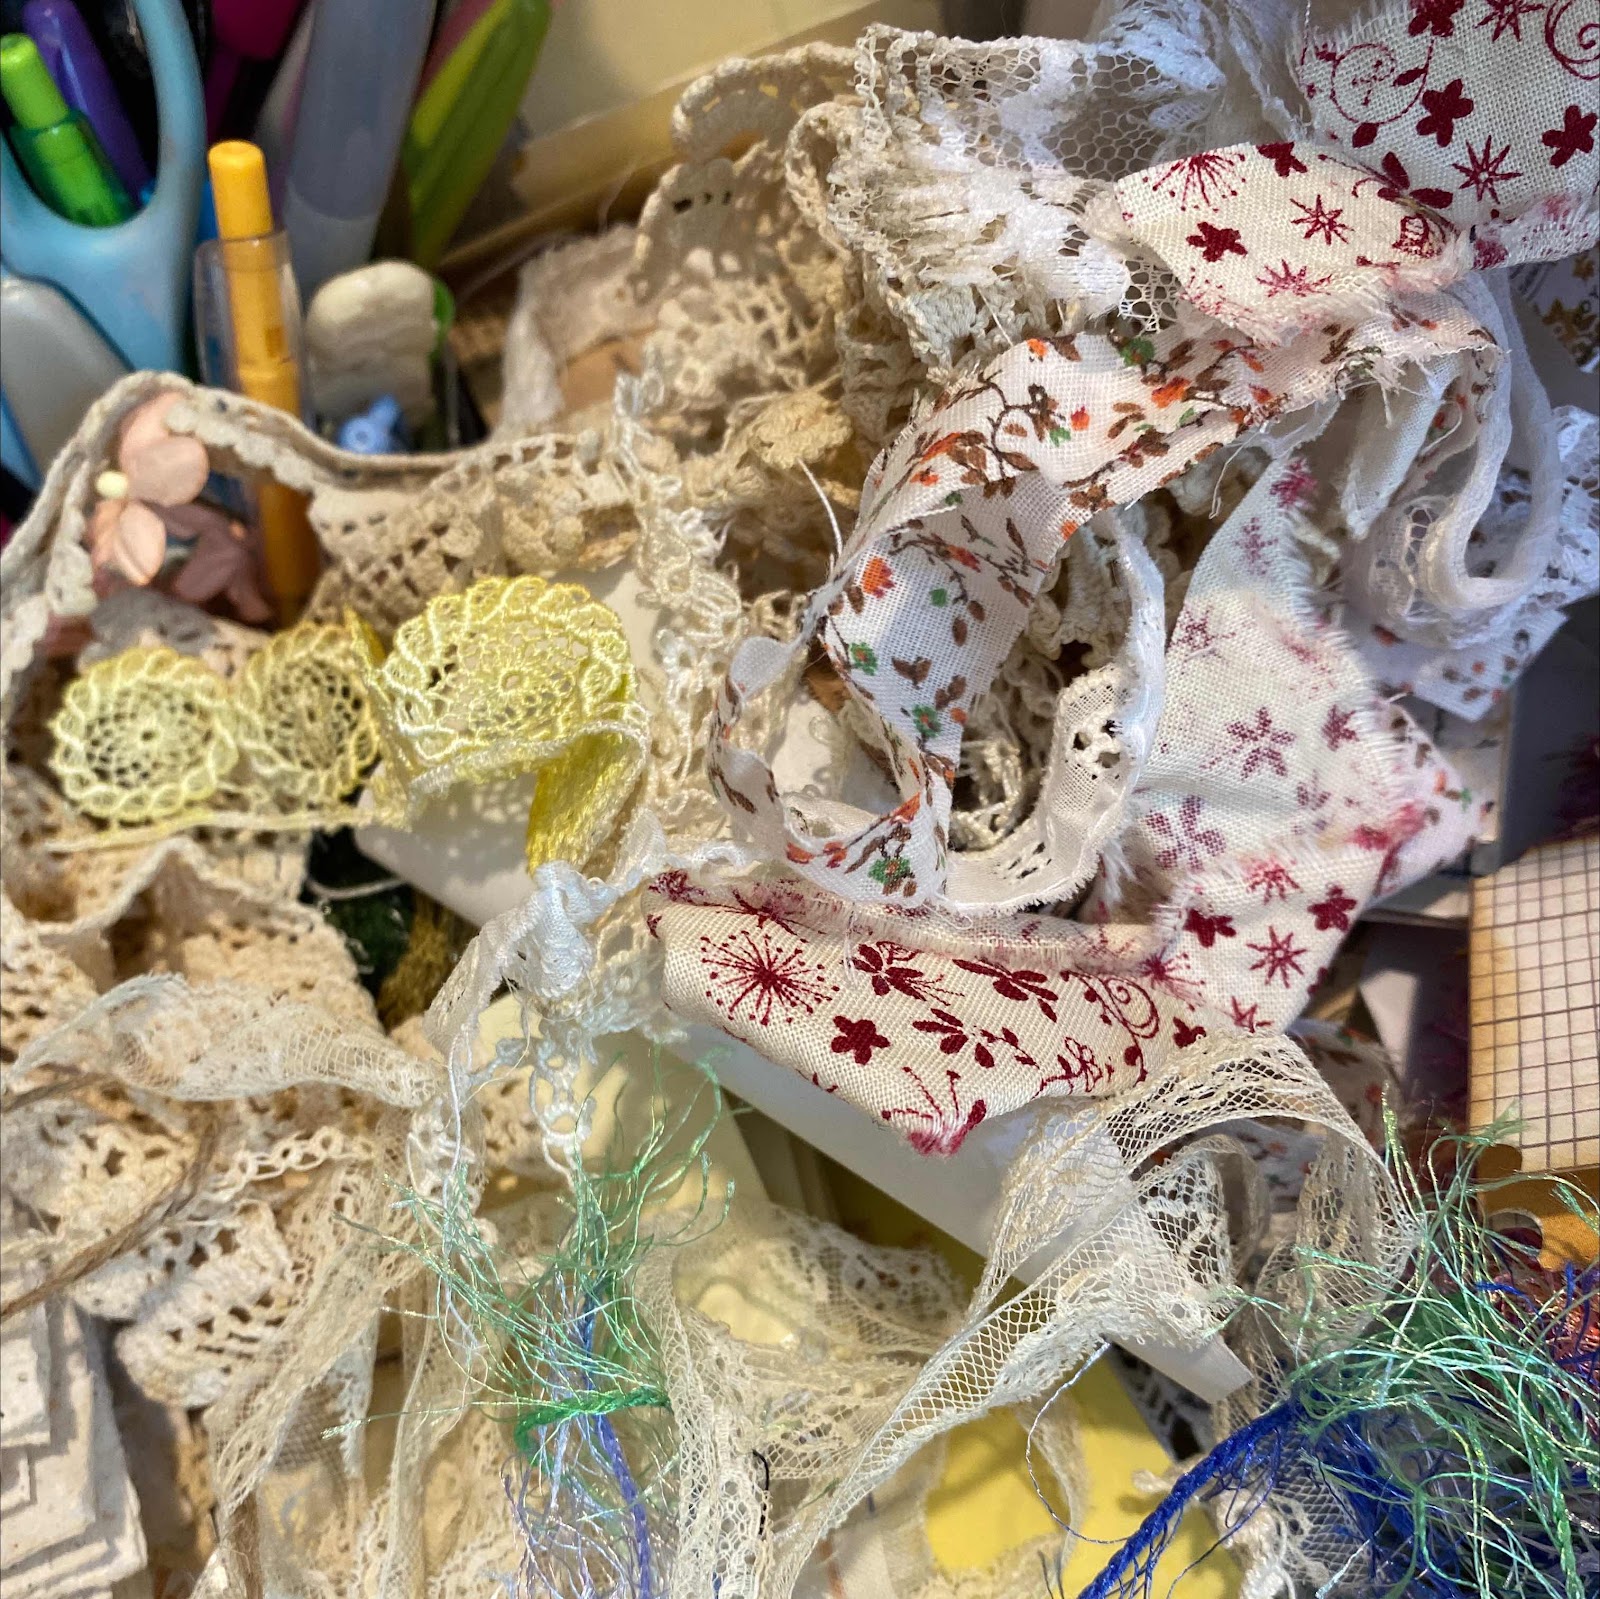
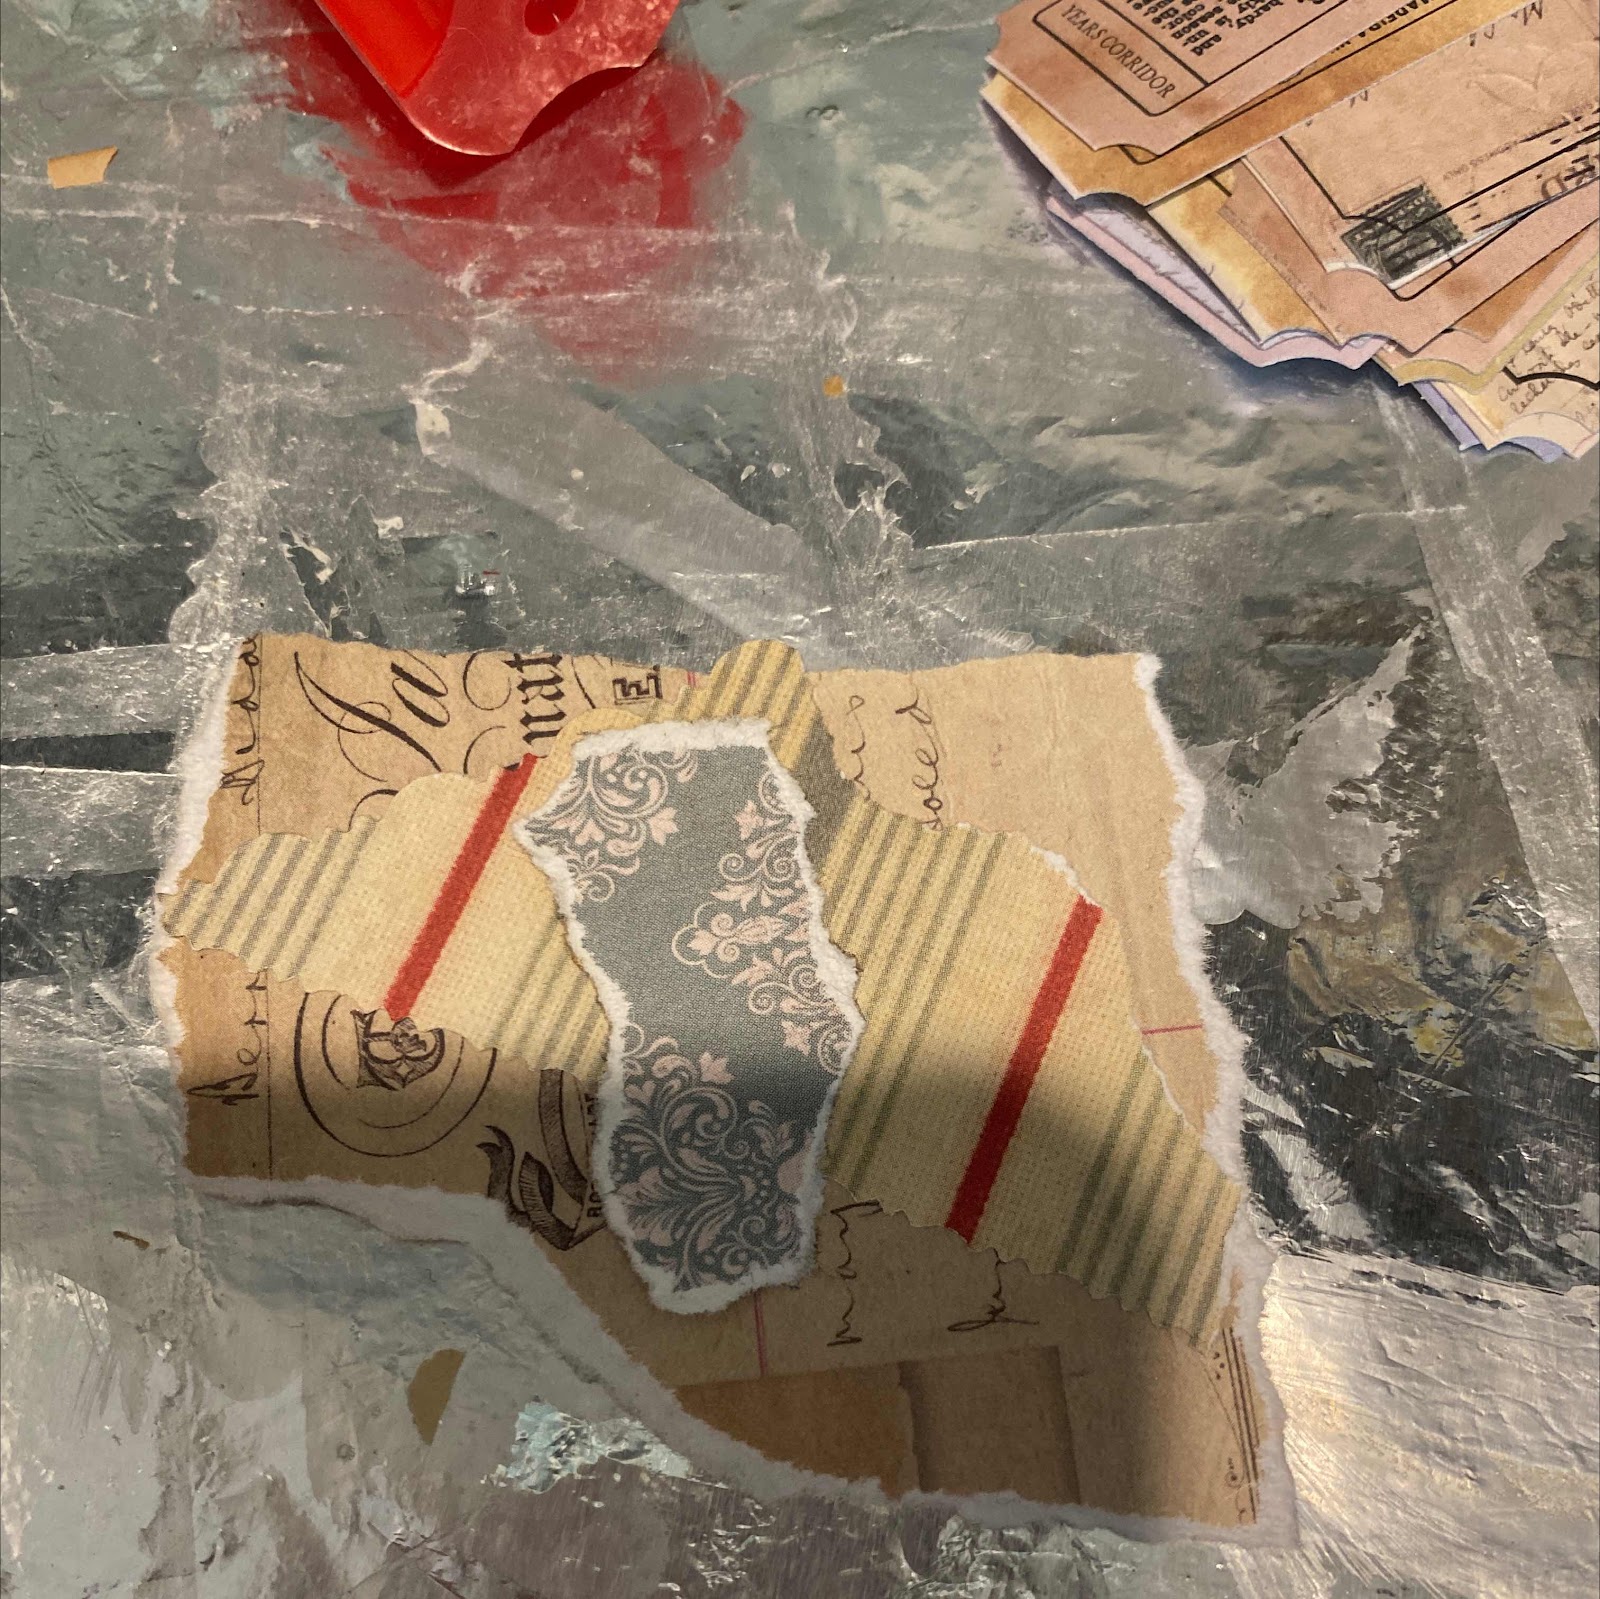
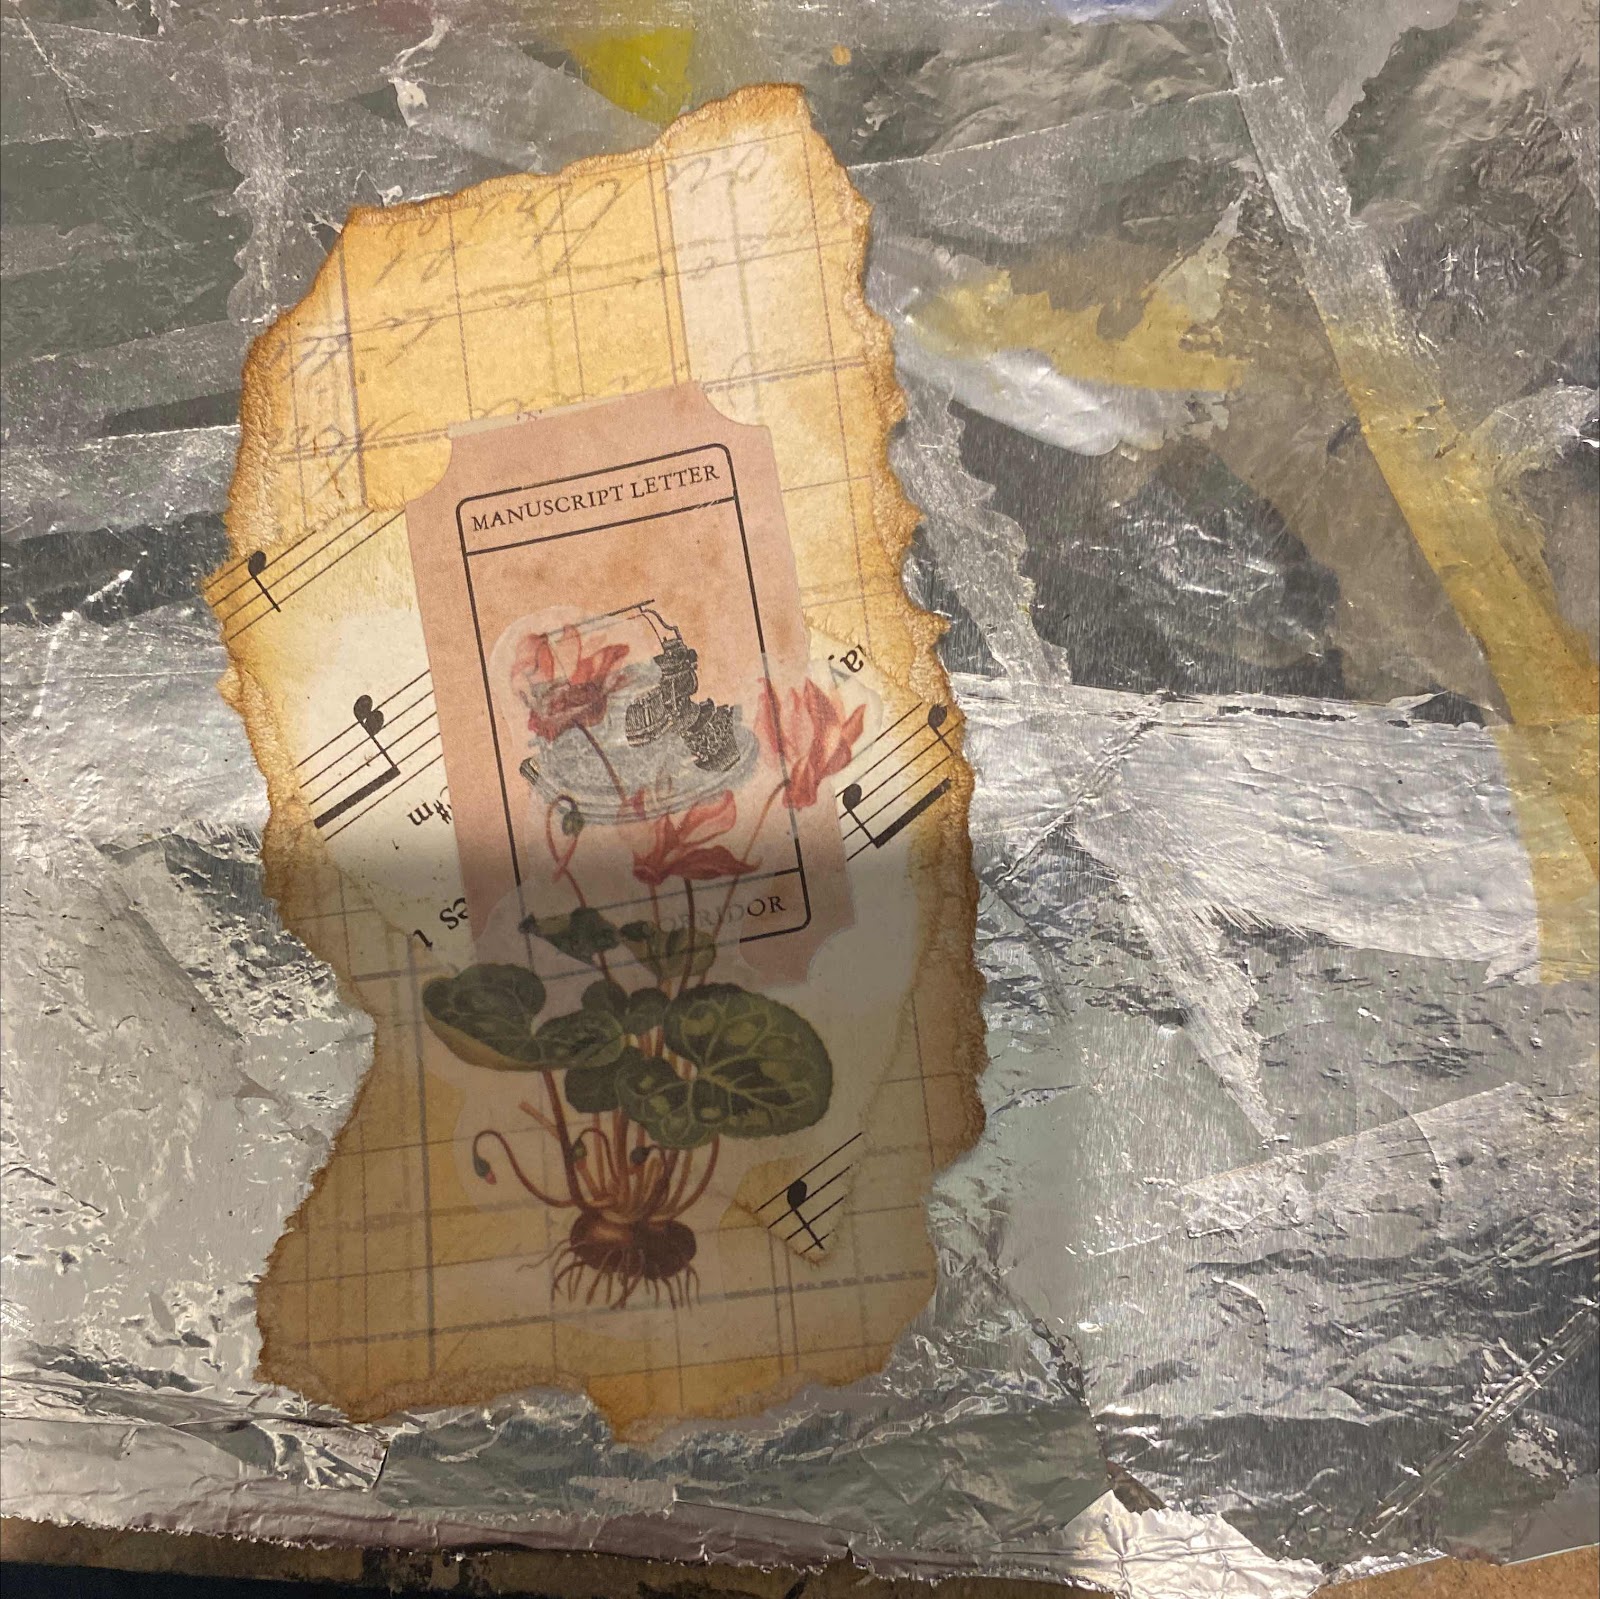
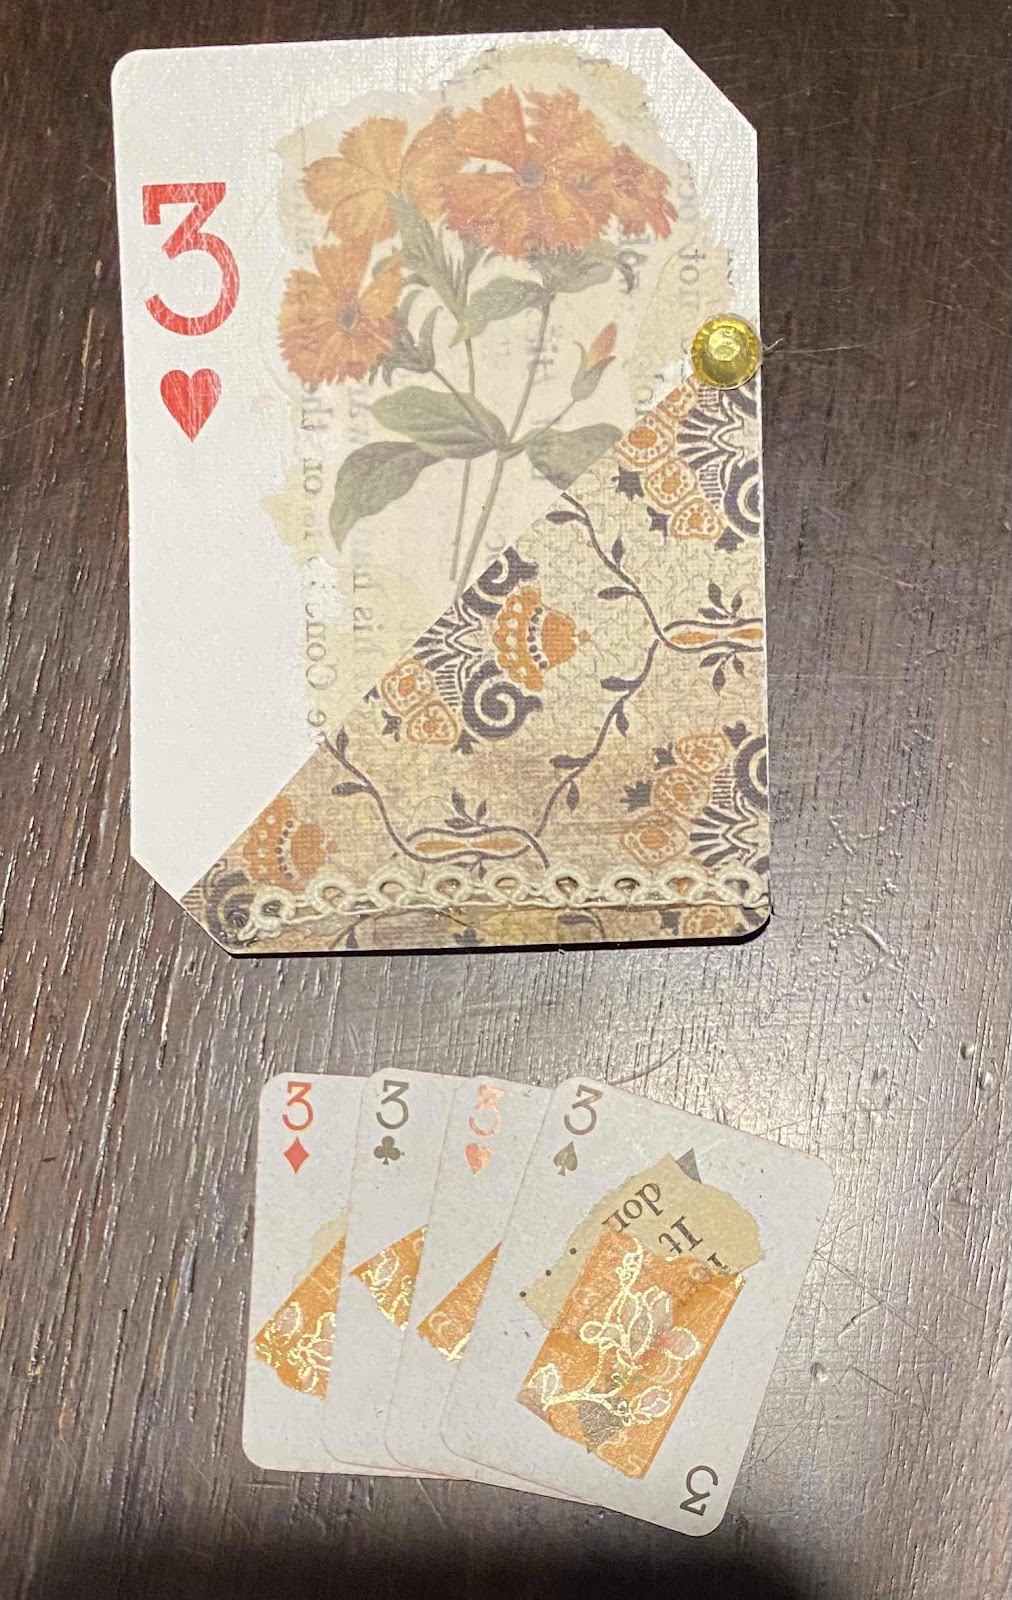
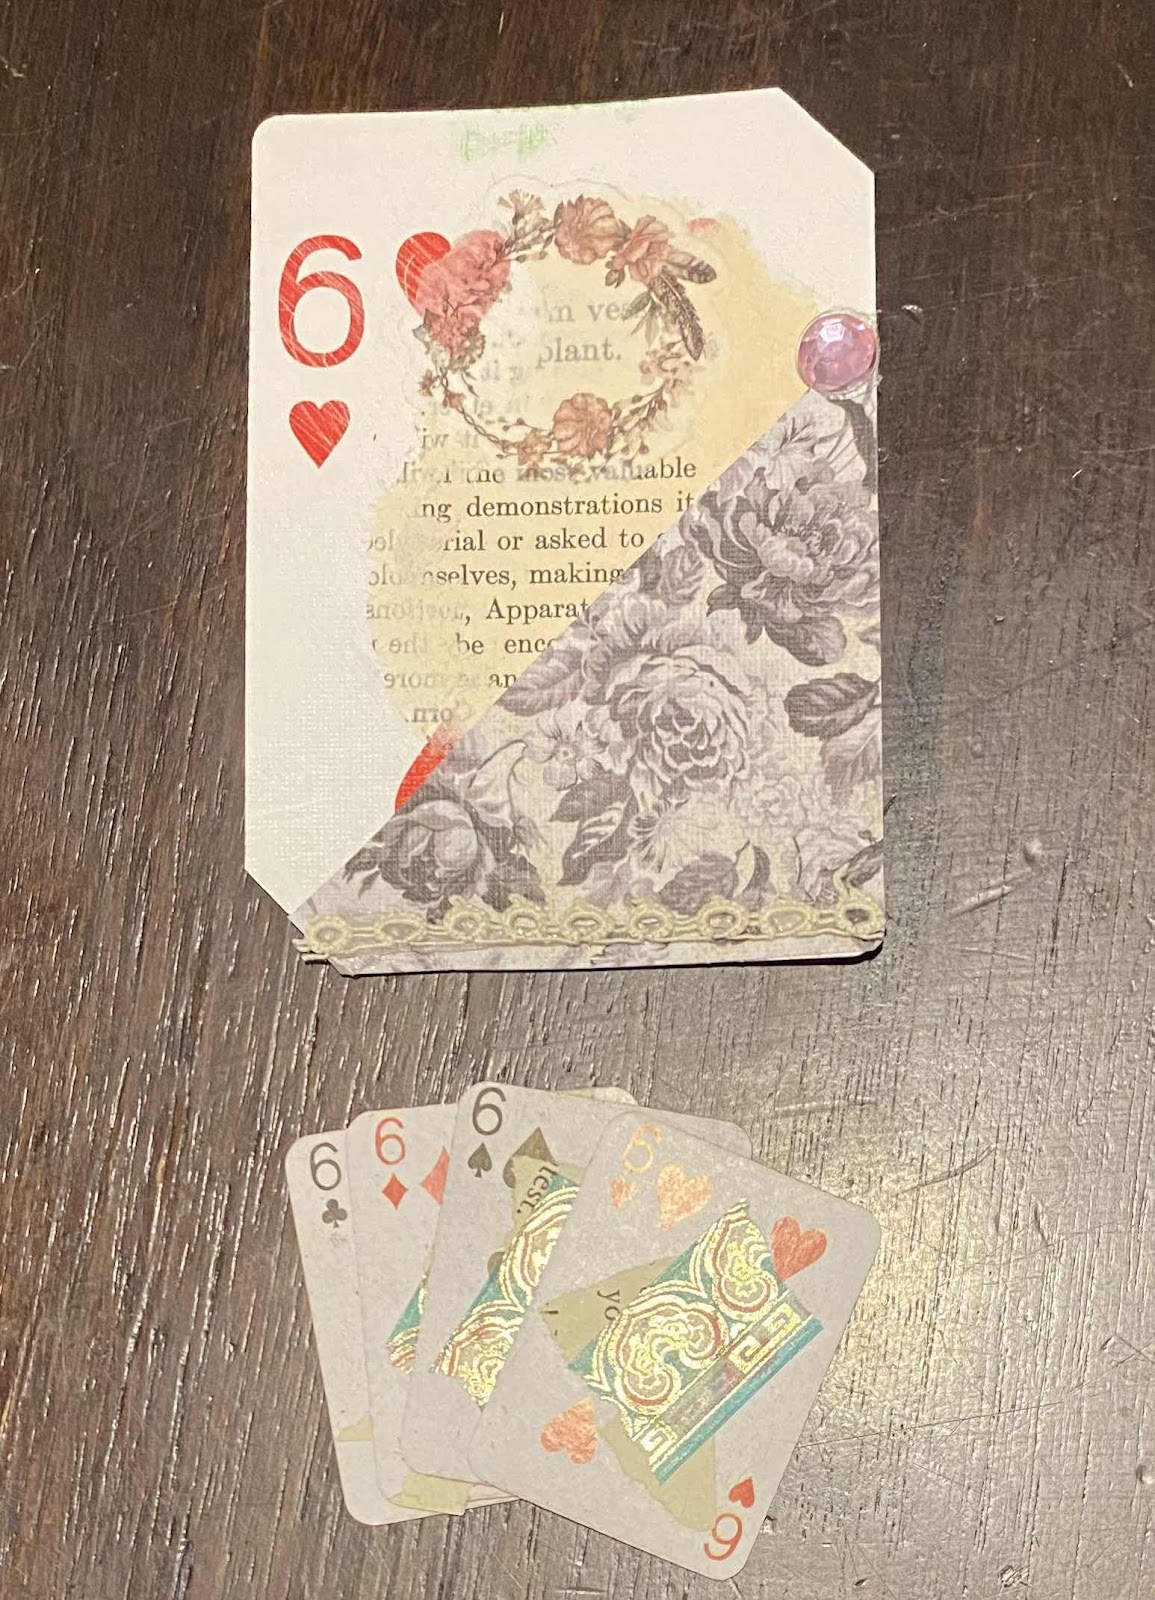
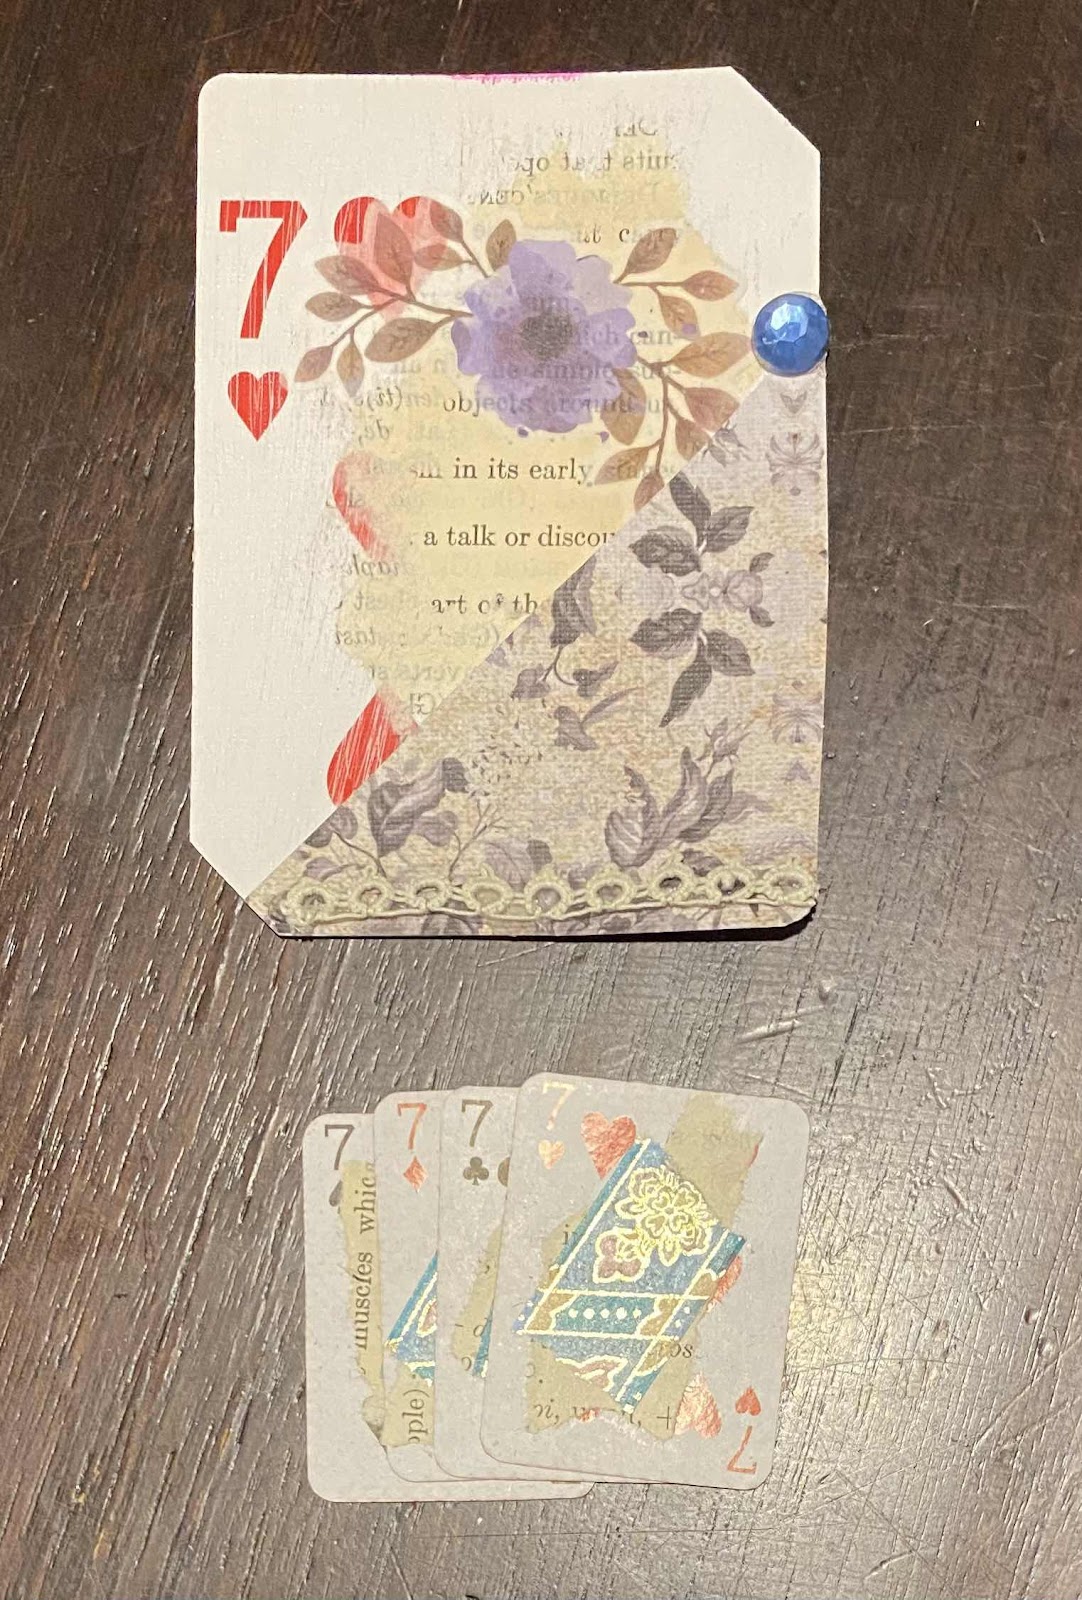
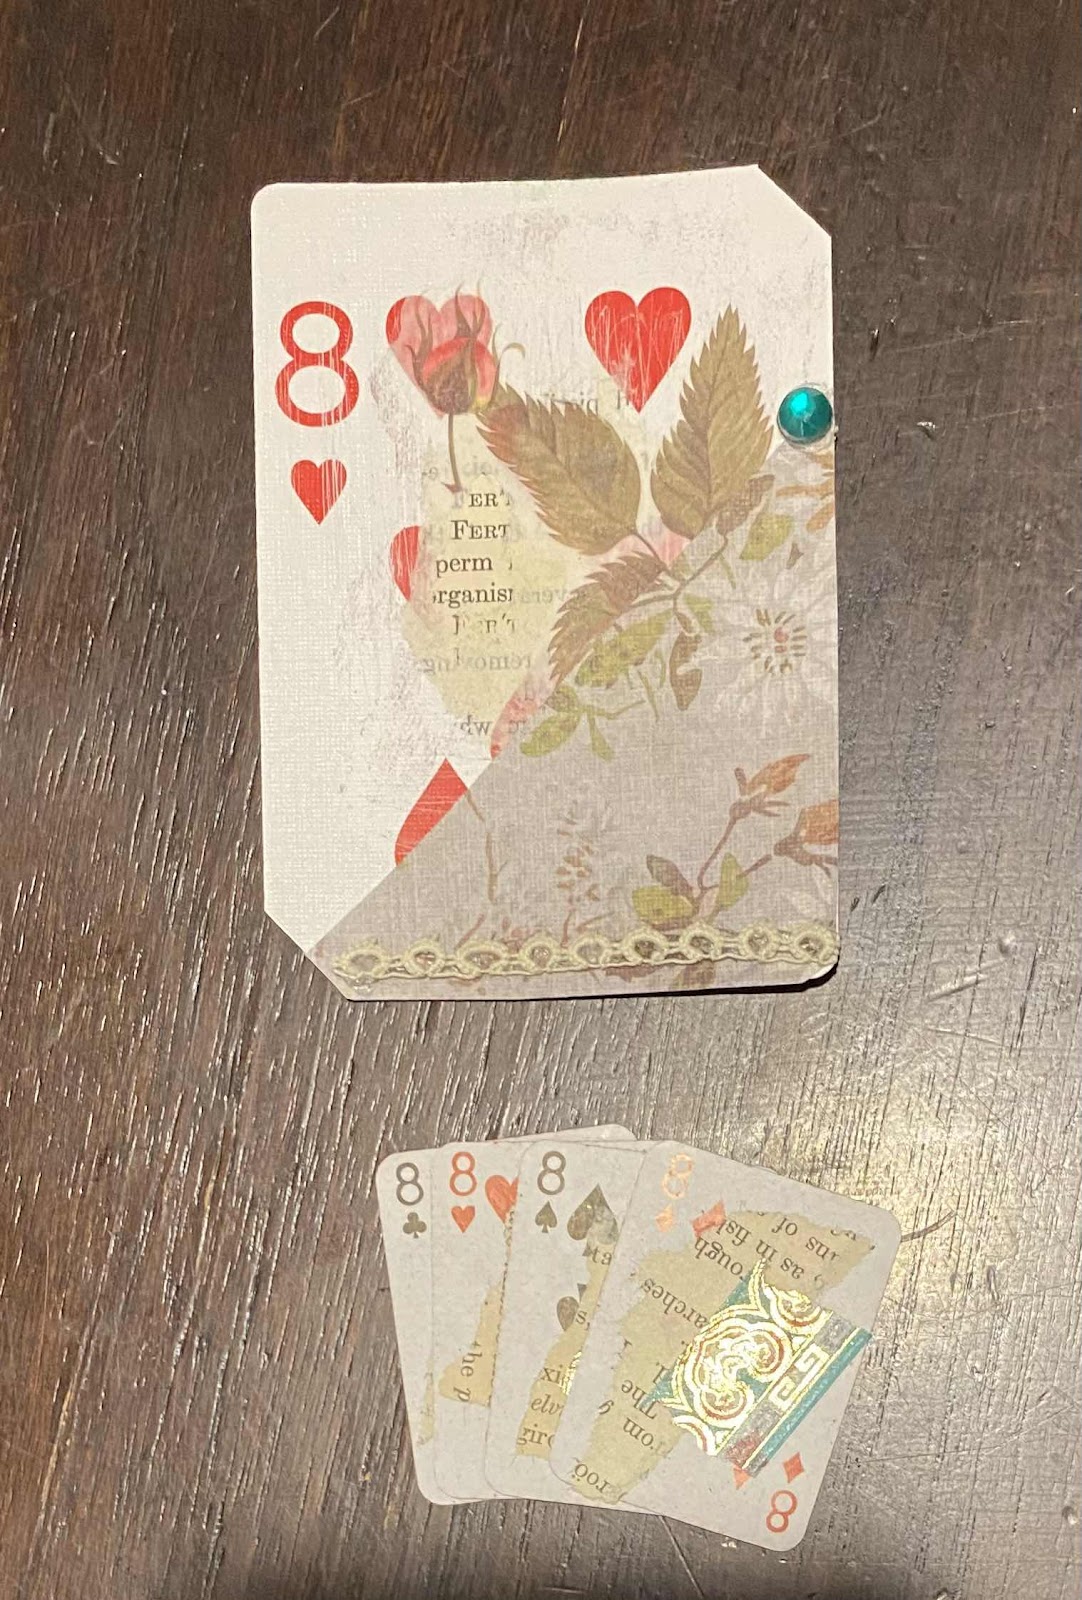
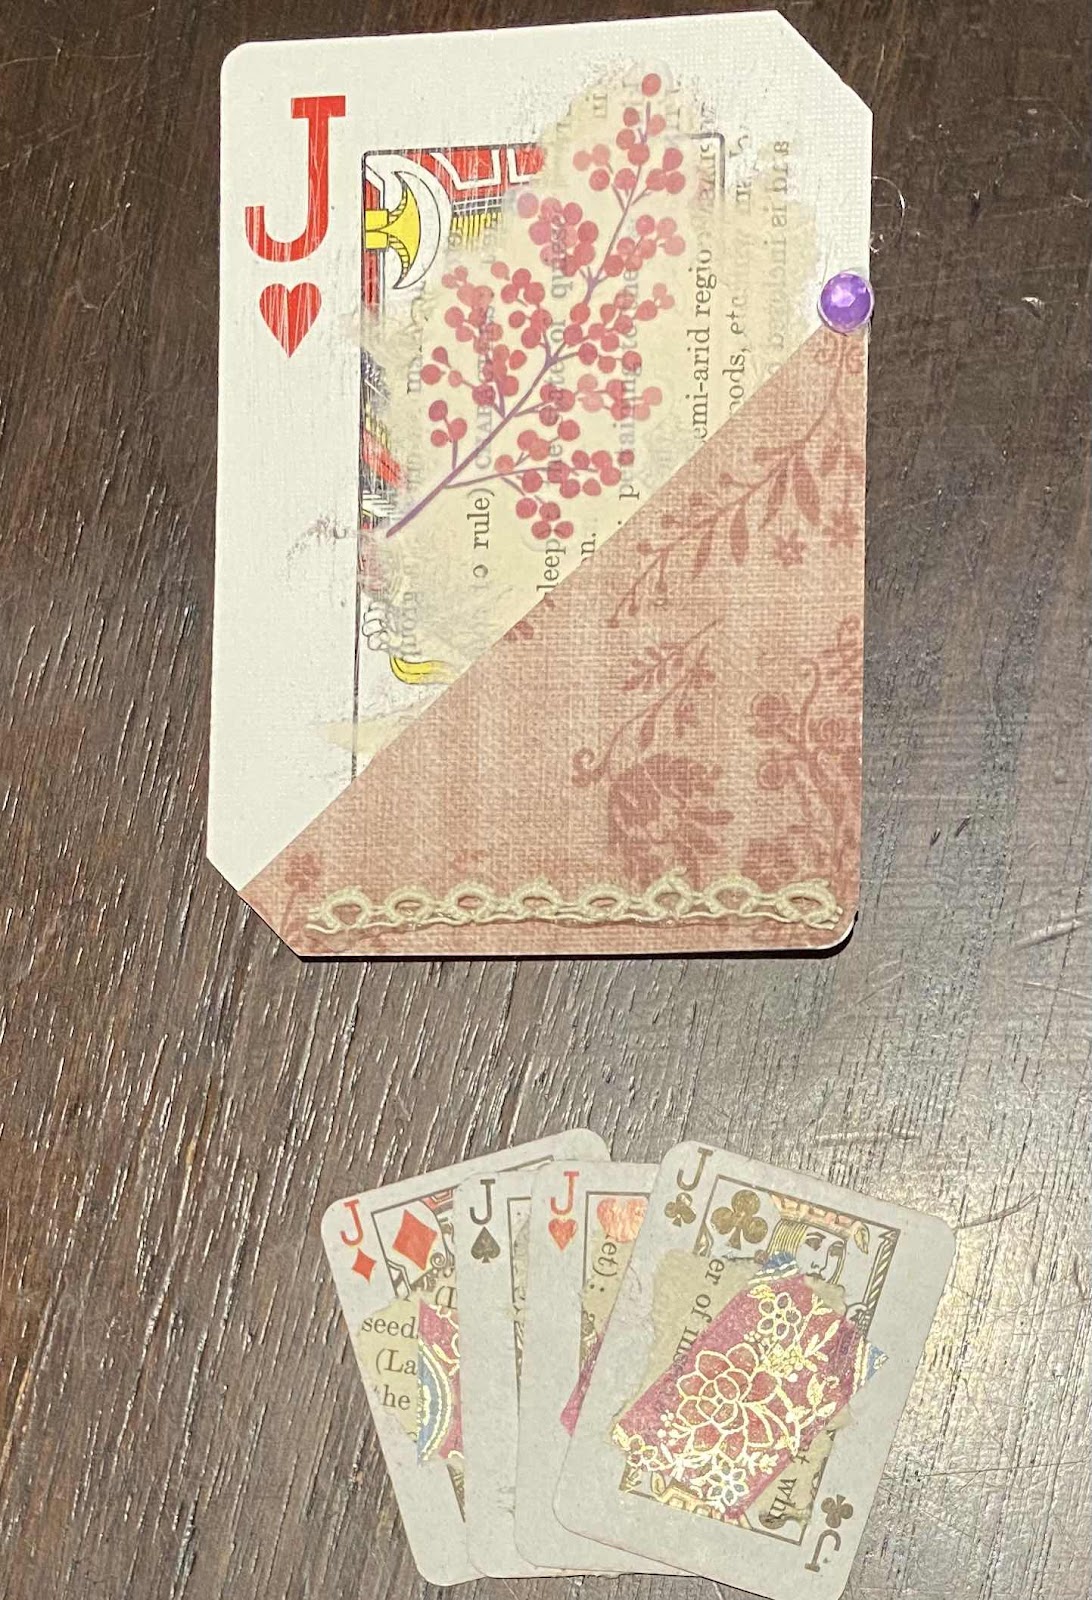
I finished off the cards with a washi sticker. A pocket made from the Tim Holtz wall paper. A pice of vintage lace and rhinestone.


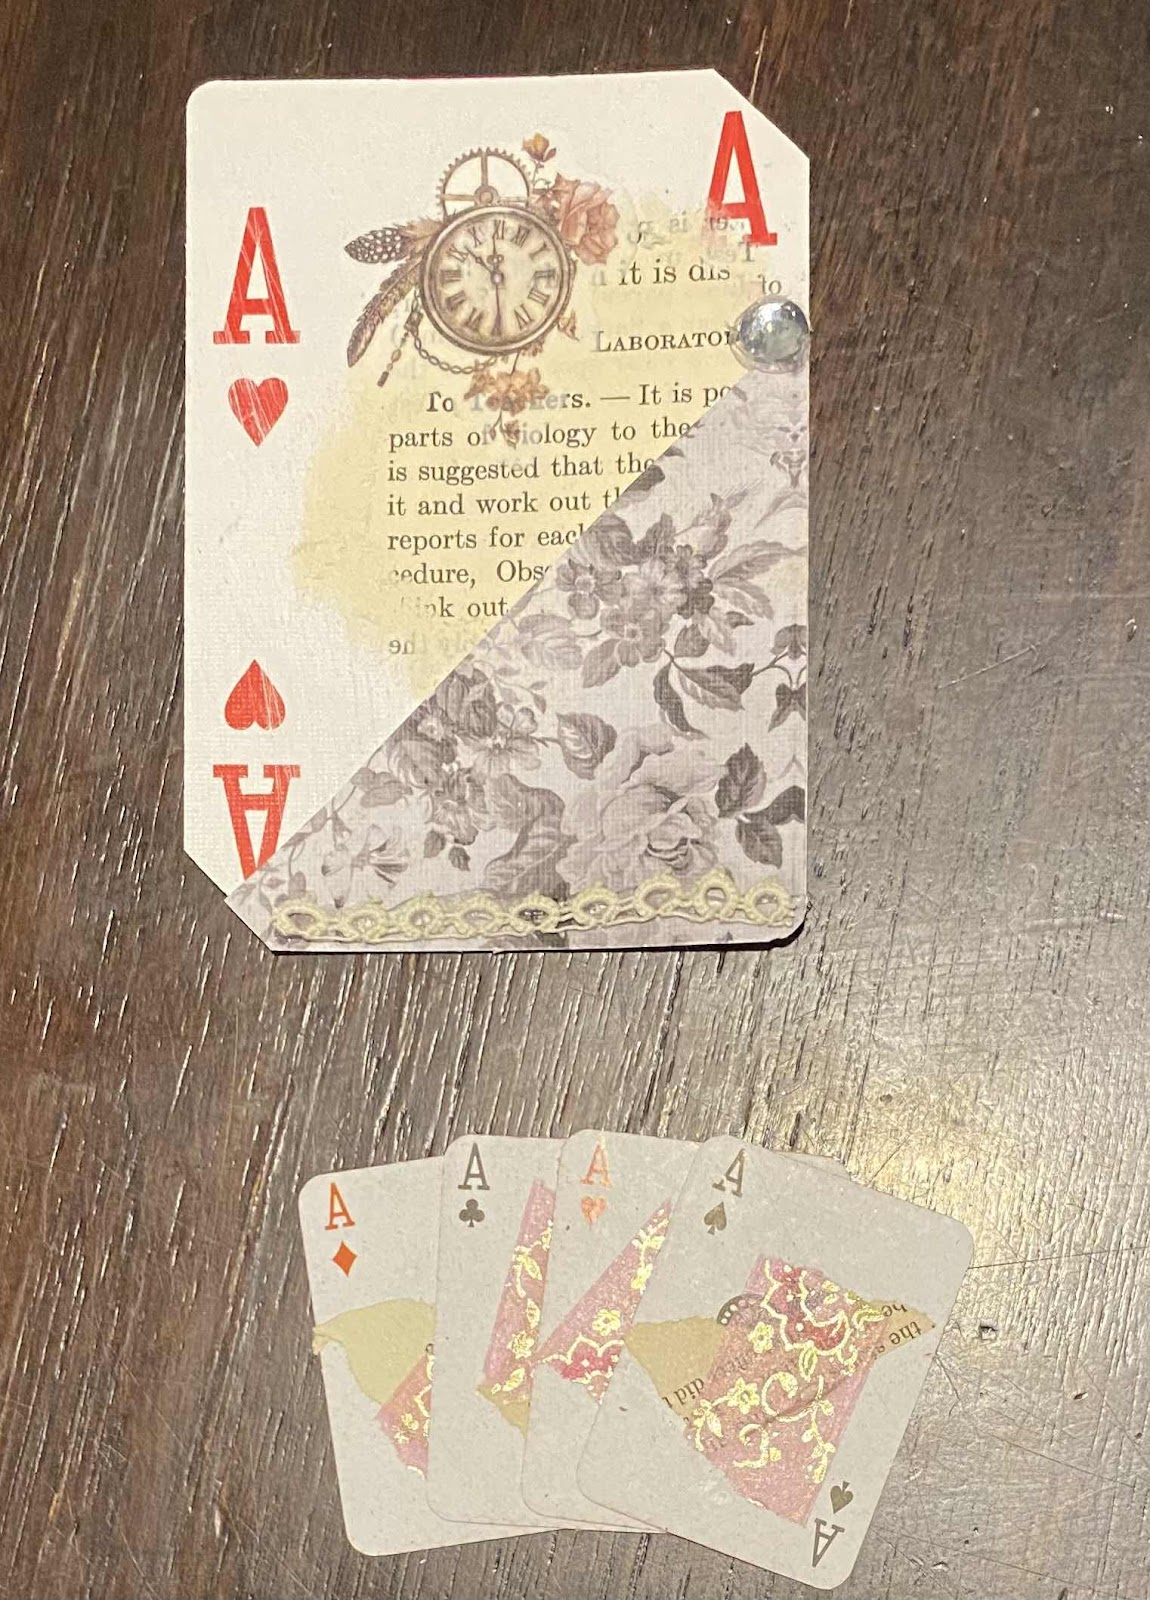
I tucked some altered mini playing cards into the pockets. All in all this was a fun little project!


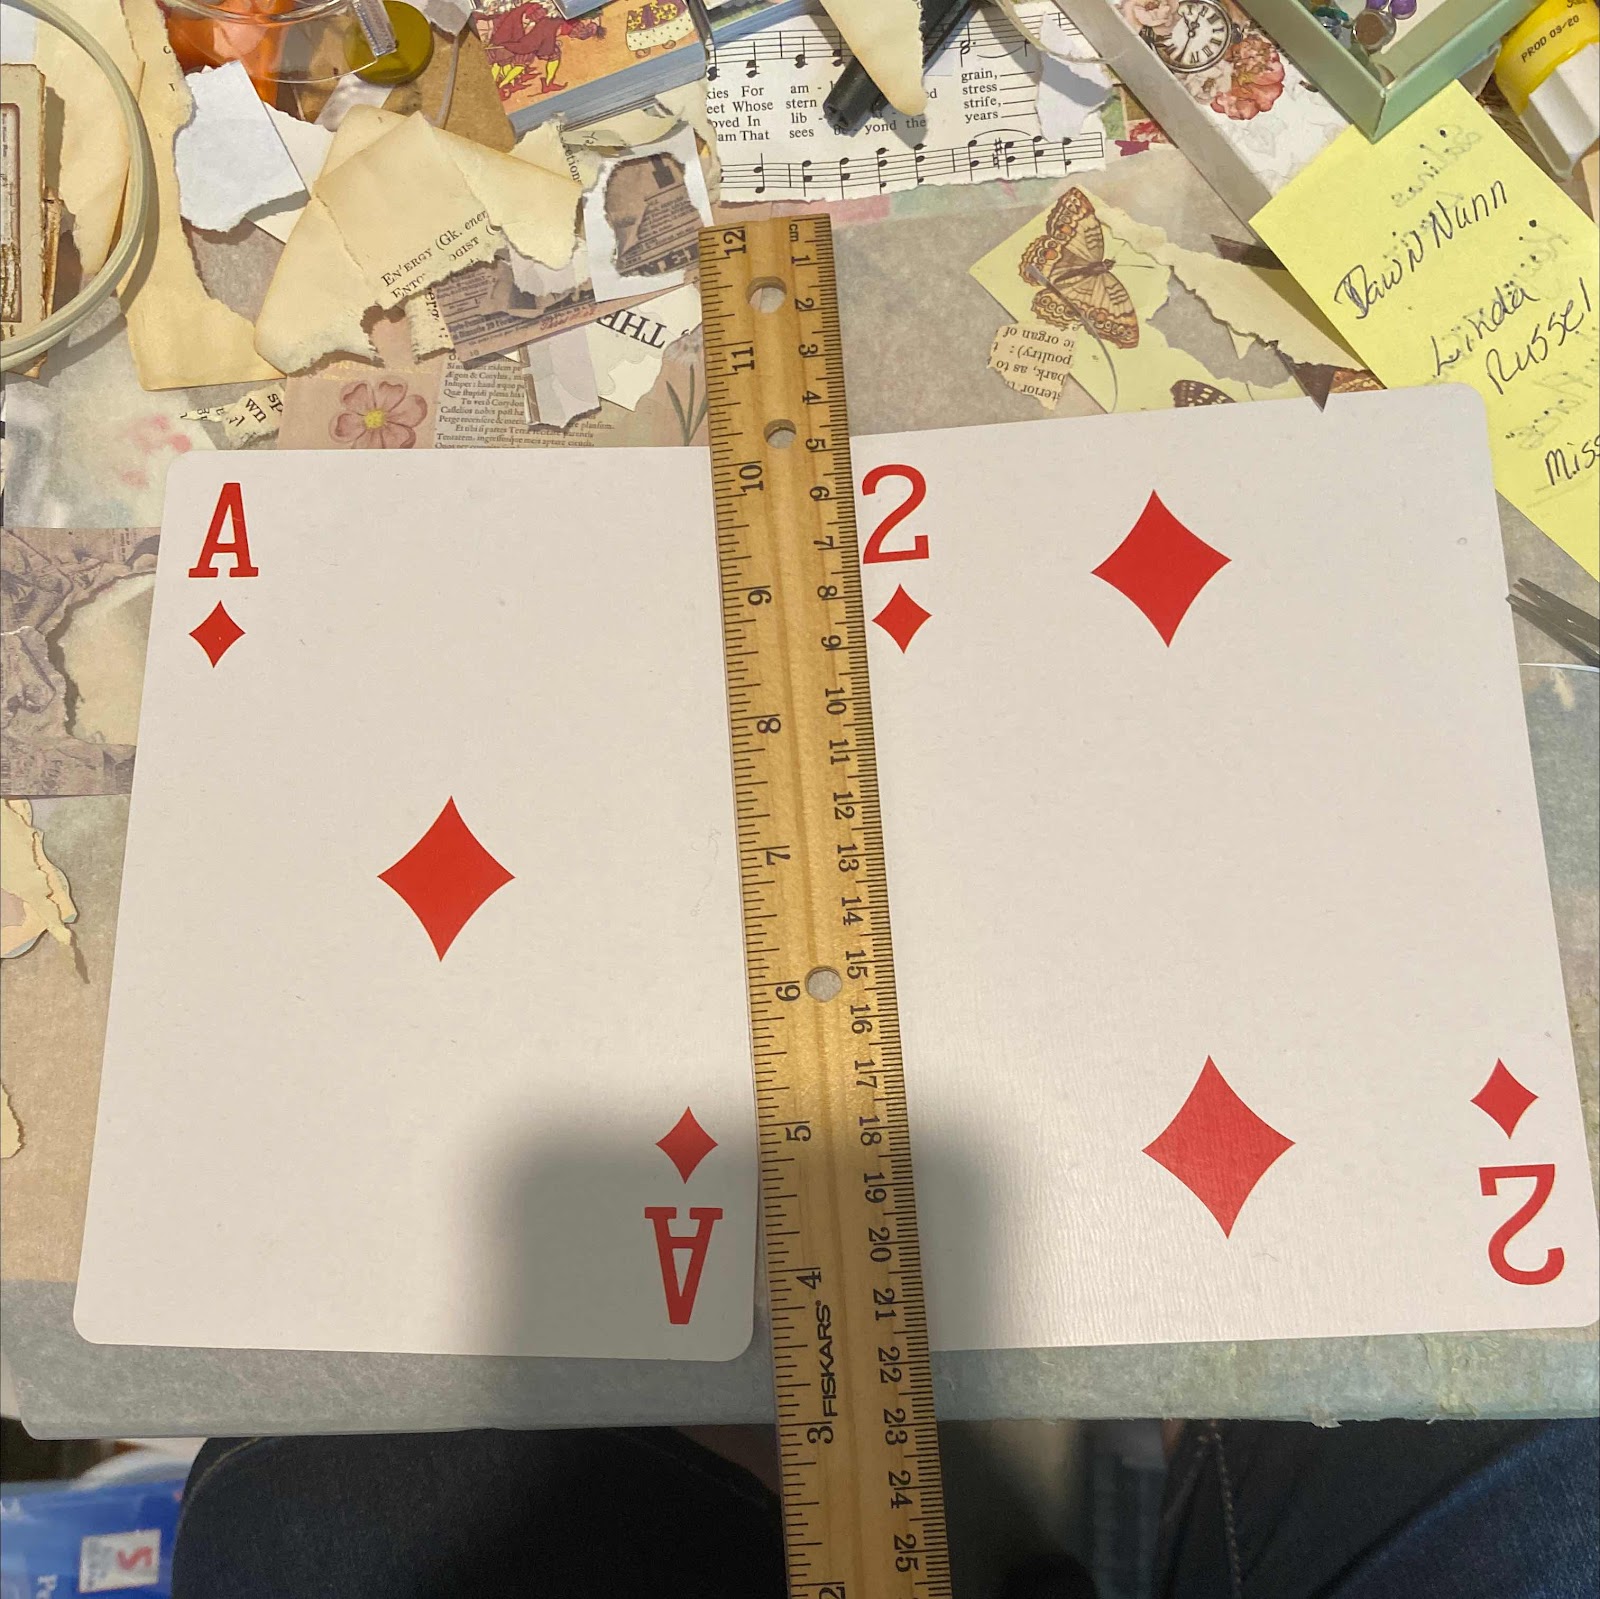
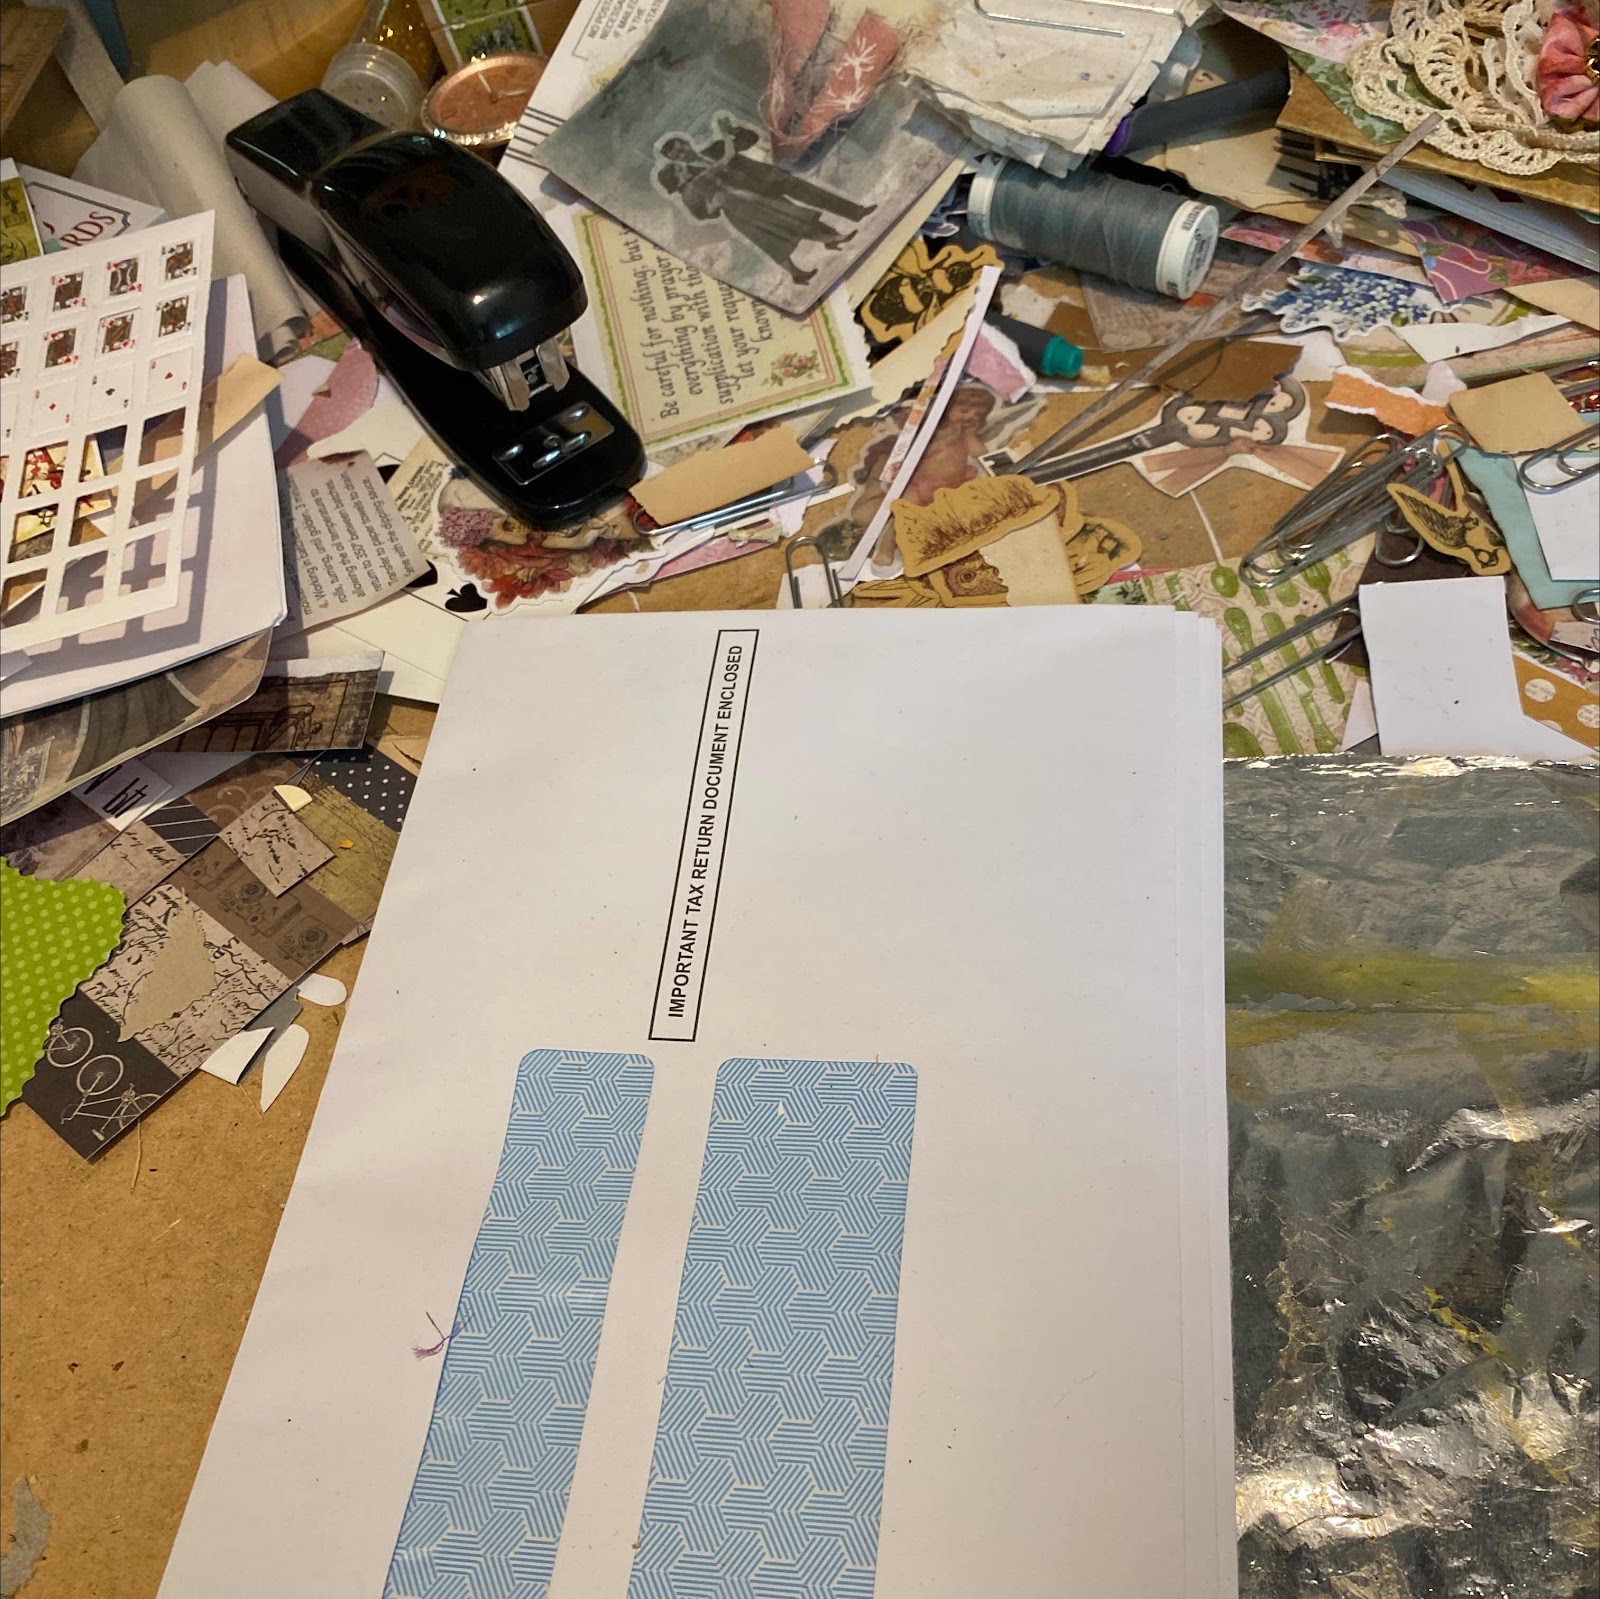
Now on my very messy work desk my next project! Can you imagine the possibilities for these jumbo playing cards?

TTFN

Wednesday, June 22, 2022

The Beginnings of An New Obsession


Flat pens. Yes, flat pens. They are super cool and super functional. They should be a staple in every junk journal.

They are crazy fun to make. The decorating is just as fun as making them.


I’m thinking that there is a tutorial on these little gems in the future.

TTFN
The Lion

Saturday, June 18, 2022

Tags With Prompts

If you ever want a challenge try a tag with prompts. Some of  these projects are really a challenge. We are all use to doing things our own way. Add what we like on our projects. But when we are given certain things we can add to the project then that gives it a whole new twist. Like the tags I just finished. 


The prompts for these tags were:
Stenciling 
An magazine our book image of an animal 
The word June
Something green 
Something pink
A button real or fake
Some lace 

I made some tags from the book page card stock I had made. After that I found some of my stencils not all mind you but some that could do the job. The stenciled image on my tags were made by spraying distressed oxide spray. I use the Tim Holtz brand of Distress Oxide Spray. The color is Shabby Shutters. It does make a nice vintage background for the next items I added to the tags.

The next things added were the magazine images that I found in a stack of Horse Trader magazines that my son in law had given me for my obsession and the word June. I found this in an expired planner that I bought for a marked down price at work. It was expired and only a couple of dollars. For the junk journaling process we don’t have to have anything current unless you need it to be for a project.

For the something pink and something green I used paper flowers. One green one pink. I attached the pink one on top of the green one then added them to tag.

Next was the lace. I added some vintage lace to the tags. I do have a vast amount of it as I am a crazy quilter also. I am happy that both my hobbies kind of blend together. 

Last thing added was the button. Yes, they are real. Have I mentioned that I am a crazy quilter? Well I am all I had to do was choose which one to use in the project.

They did turn out pretty nice. Even if I say so myself.

TTFN
The Lion

Monday, June 6, 2022

The Start of A Journal

A happy day to everyone! I am working out the kinks of a envelope journal. When you are working out a new concept it does take some time and thought. But when you are done? OH Boy! Is it great! So today let’s put together the foundation of our journal!


I am m starting with 6 envelopes the same size. These envelopes have not been used yet and have windows. They belong to a Goodwill find I purchased not too long ago.


You will want to open the flaps of your envelopes. If you have used envelopes you would want to do the same.


I opened a used junk mail envelope to show you. If you have rough edges you will need to trim them.


In the above picture I have marked the fold line on the flaps of the envelopes. This fold is an important part of our process. 


Fold one of the flaps back over. We are getting ready to attach the envelopes together.


The envelopes that I am using come with adhesive tape already. So I just peel the paper back then I will use a glue stick to add more adhesive to help attach the envelope.


With the flap on the second envelope down attach the second envelope to the first to the orange line. As seen in the picture above.


Turn the flap back. Now repeat the process until you have attached the envelopes. When you have the last envelope in hand stop.


With the last envelope cut the flap off then attach the envelope the same as the others.


You now have the foundation pages for your envelope journal.

In my next post I will start the decorating process.

TTFN
The Lion 

Saturday, June 4, 2022

My Newest Project and Items I Use In It

I sat down in my chair the other day and thought about one of the latest tutorials I had watched on making a journal from junk mail envelopes. I thought about all of the envelopes that I have on hand. Not only do I have an abundance of junk mail envelopes but others as well. I use thank you cards, blank cards and Christmas cards of all kinds. But not the envelopes. Well not many of those envelopes. I have also run across and bought a package of unused W2 forms and envelopes at our local goodwill. So I have a bunch of new envelopes with windows.

I thought to myself I need to really start working with these envelopes. Doing something with them. Since I am in the junk journal business I will develop my own designs. So thats what I am doing right now. I do have to confess that I am using and reworking what other ladies have come up with but putting my own twist on it.

So I worked on a new journal for two or three days. That’s the amount of time it takes to make one when you work and have children to take care of!


Here is the front cover. I will be working on a tutorial for it as soon as I am done with the one I am starting on today. In the one pictured above I used quite a few gifts and swap items I received from other ladies.


Here is a picture of the start of my new envelope journal. I already hav the envelopes attached together and ready to work out my design. I will also do a tutorial for this particular one.

If you would like to start collecting things for my tutorial here is a small list.
Some of the main things I will be using for the design are:


Distress oxide. The brand I use is by Ranger the Tim Holtz line. To get the effect I want I will use three to four different inks. 


I will also be using an old book. This particular one is an old biology book from the 1920’s. You can always use whatever book pages you would like. 


I will also use bits of lace and ephemera in my journal. You can choose what you would like to go in your journal.

Happy crafting!

The Lion

Wednesday, May 25, 2022

What I Am Up To


I am working on some scrappy layered embellishments. I will be using only what is on my very messy desk. A nice little challenge that! So on to the project!

I started off with finding the base for my layers. I chose a double sided printed card stock.


As you can see I have already torn it into pieces the size I wanted to use.


Choosing one I will start my layers.


Gluing down the second layer to the first I will choose another layer.


The third layer glued down. With that I will choose a Distress Oxide. To give a little effect.


Tim Holtz is my “go to” in the Distress Oxides. Gathered Twigs is one of my favorite colors.


Color added. Now a little something to make it cute.


Finished. You can add something as simple as a butterfly and some string. Or……


Just put together layers and put a washi sticker on top. Or……


With this project you can add anything that you would like to your embellishments. Mass make them so you can have them on hand. Have fun with them. Most of all? Enjoy the process!

I hope that you have enjoyed this post. I will get better as I go at elaborating. If you know me in person I am pretty much to the point and don’t add frills to my words. But I know from experience that I get better at blogging. Please let me know if you have any questions or need help!

The Lion

Trying This Again

 I did not know that it had been this long since I had posted any blog. My addiction to mixed media and junk journals continue. I am very happy to say that I am and have developed so many new skills in the world of crafting. 


I have been asked to work up some tutorials. Of which I am going to very happily do. I am also hoping to have the time to blog often. Stepping off again let’s see how this goes from here!